If you know
me and my papercrafts, you know I really like the early, blocky 3D games! There are a couple of
first-person shooter games that are very famous for their advancements in 3D gaming, and
Quake is definitely one of them!
So I decided I'd make a
papercraft of it, and I figured it'd be a nice opportunity to do
a new extraction tutorial again on how to extract the actual game model to use as base. 😊
NOTE beforehand:
- As always: to extract the 3D model from a game, you need to own the game. 😁
- In this 3D model extraction tutorial for the original Quake, I'll be using the PC version. Because Quake is originally an old DOS game from 1996, it might be difficult to find an original version, though - and even then, you'll have trouble installing it on a modern computer.
- I got my version from
Steam which made things a lot easier (it's also available on
GOG.com)
- The 3D models for Quake are stored in its game container files, which you'll find as .PAK files in the Program Files folder after you install it. For the Steam version, the default location is:
C:\Program Files (x86)\Steam\steamapps\common\Quake\Id1
- I like to copy the PAK0.PAK and PAK1.PAK files into a separate folder, so I can keep all the files I'll be working with together and so that I can't possibly mess up the original files. And then we can start. 😉
● Exporting 3D Quake models in their standard first animation pose (Rich Whitehouse's Noesis)
- Download the latest version of Noesis from Rich Whitehouse's website:
- Run the appropriate version executable for your version of Windows: Noesis.exe if you have an x86/32-bits version of Windows, and Noesis64.exe if you have a 64-bits version.
- Microsoft Defender SmartScreen will tell you it doesn't recognize the application, so if you want to use Noesis, you will have to choose More info on the first screen, and then Run anyway on the next one.
- With Noesis running, use the file tree on the left of the Noesis window to browse to the folder where you copied the PAK0.PAK and PAK1.PAK files. They will then be listed in the middle window as a file format that Noesis knows.
- Right-click on one of the .PAK files and choose Export, or just double-click them to open the Export Container File window.
- You can use the Browse button to specify a specific extraction destination, but you I simply used the same folder as the PAK files.
- Click the Export button and when it's Complete, Noesis will have created a new folder with all the files that were in the .PAK container file. Do the same for the other .PAK file if you want.
- Browse to the newly created PAK0_files or PAK1_files folders with the file tree in Noesis again, and then browse further to the progs folder. This is where Quake stores the 3D .mdl models.
- Choose one of the .mdl models and then right-click and choose Open, or just double-click the .mdl files to see a preview of the 3D models and all of their animations! 😀
- Once you find a game model that you want to extract, right-click it and choose Export to open the Export Media window.
- You can use the Browse button again to specify a specific extraction Destination. In this case I like to use my main working folder where I also copied the .PAK files in the beginning.
- You can also specify a Main output type; I like to use the .obj - Wavefront OBJ type because it is a very common 3D file format that many 3D programs can open.
- Click Export and once the Export is Complete again, you can find the .obj file and a .png texture file that Noesis also exported in the extraction Destination folder you specified.
- Unfortunately, the issue with using Noesis to extract the 3D Quake models is that you can only export the models the way they are posed in the first (base) frame of their animations...
- Once you open the
.obj file in
a 3D program you will see that (in the case of the Player.mdl in my example) it is always the Player model running with the axe, even though I used the animation frame of the Player standing with his gun in
Noesis to export the 3D model... 😕
- If you like the base animation frame pose though, you can already stop now and use this model as a base to make a cool papercraft of course! 😊
● Exporting 3D Quake models in any animation pose you like (Blender 2.79b with mdl import/export add-on by Taniwha)
- To be able to choose other poses to extract, download and install Blender 2.79b:
- Next, download the Blender mdl import/export add-on by Taniwha from:
NOTE:
- A person called khreathor made an updated version of Taniwha's Blender mdl import/export add-on with a little help of queenjaz for Blender versions 2.8+ (but I haven't tried or tested it, sorry!):
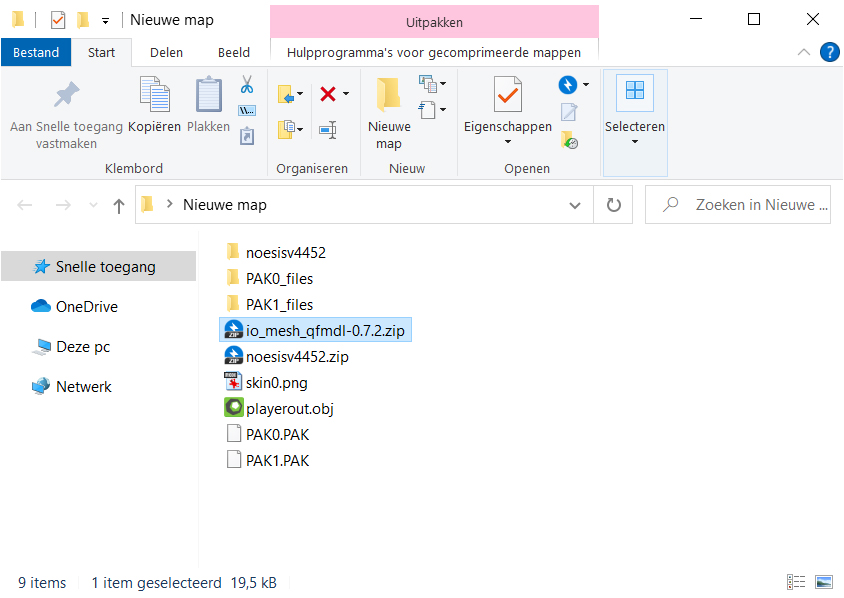
- Unpack the .zip file and then browse to the subfolder io_mesh_qfmdl (without the version number and with only the .py and a TODO file inside).
- Copy it to Blender's add-ons folder, by default:
C:\Program Files\Blender Foundation\Blender\2.79\scripts\addons
- Now you have to activate the add-on first. Open Blender and choose File -> User Preferences (or press Ctrl+Alt+U)
- In the Blender User Preferences window, Go to the Add-ons tab and search for the Import-Export: Quake MDL format add-on.
- Place a checkmark in the box and click the Save User Settings button at the bottom. After that you can close the User Preference window.
- Now Choose File -> Import -> Quake MDL (.mdl). Browse to the .mdl file that you found with the preview in Noesis and double-click to open it.
- Once the model has been imported, zoom out a bit (because it'll show up huge!) and move the animation slider at the bottom of the Blender screen. You'll see that you can choose to show the 3D model in any animation pose that you like! 😀
- So choose File -> Export -> and choose a 3D file format to export the 3D model (I like to use the Wavefront .obj format).
- Note that the Blender mdl import/export add-on won't automatically export the skin texture file. 😟 But as shown in the first part, you can get that using Noesis! 😀
- Open the .
obj file you exported with Blender in a 3D program; like I said, I really like
Metasequoia because it's so perfectly compatible with
Pepakura Designer, which I'll use later to unfold the final 3D model into 2D papercraft parts! 😊
- In Metasequoia, UNcheck the Flip right and left box but CHECK the Invert V of mapping option in the OBJ Import window so the model and the textures look correct.
NOTE:
- If you are using the Wavefront .obj file you Exported with Noesis, you have to UNcheck the Invert V of mapping option as well for the model to look correct.
- Then set the .png skin texture file as the correct Material in the Material panel (press Ctrl+M if you don't already have it open in Metasequoia).
- Now you will see that this time, the 3D model will have the pose that you chose in Blender instead of the base animation frame! 😃
And now to make this 1996 Quake Player model into a 2021 Quake paper model! 😊
Stay tuned!
● Tools used: